
I started out just wanting to build an extension run to my $50 Craigslist chicken coop. After deciding on my design and doing the math, I realized I was going to spend a ton of money on hardware cloth. I really don’t like working with hardware cloth. It’s sharp, rigid and never goes where you want it to go… but it is a necessity for protecting the chickens. I started frantically searching for chicken coop plans and thanks to HGTV.com, I finally found some plans that were going to work for me and not completely break the bank. Once I knew what I was going to build and my vacation from work started, it was off to Home Depot to start stocking up on the needed wood.
With half of my needed 2×4’s in the shop I started to notch out the studs for the front wall.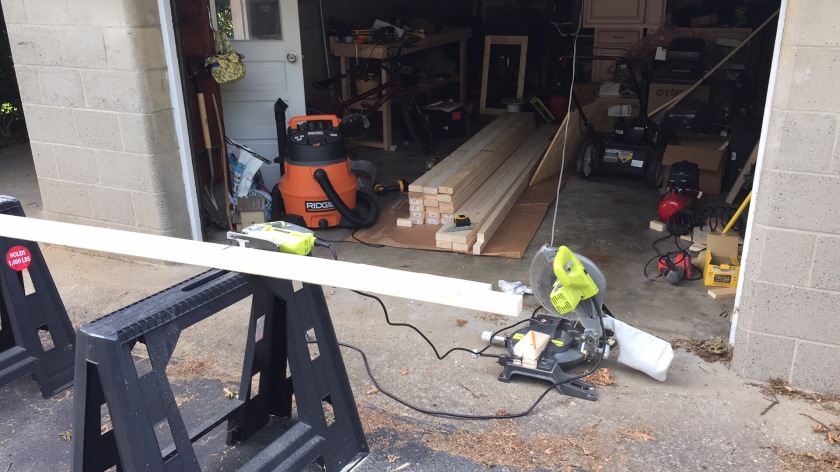
After heading back to the Depot for my second round of 2×4’s, I got the front and back walls notched out and am ready to begin assembly, but that will have to wait till the next day… I do have to be a father too.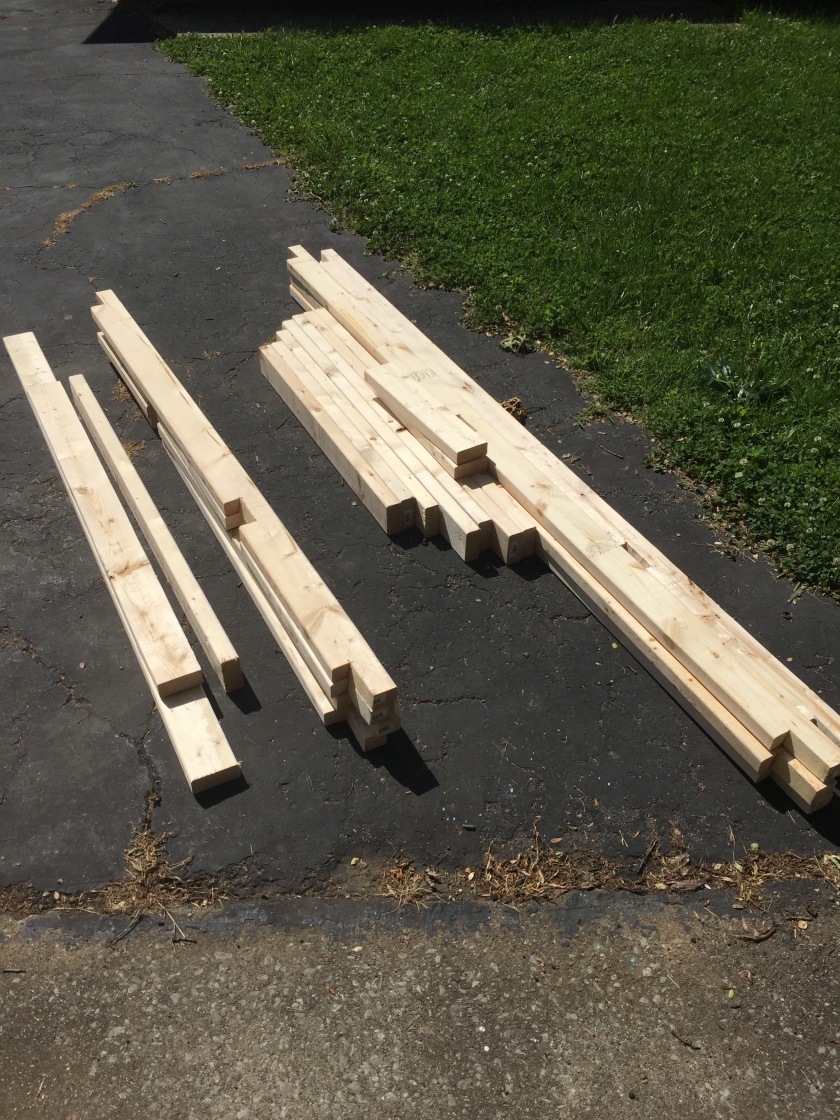
The next morning, I got the walls framed in. The front wall is 10′ wide by 8′ tall and the back wall is 10’wide by 6′ tall. Notching the studs is something I never would have thought of but it made this assembly so much easier. Thanks HGTV.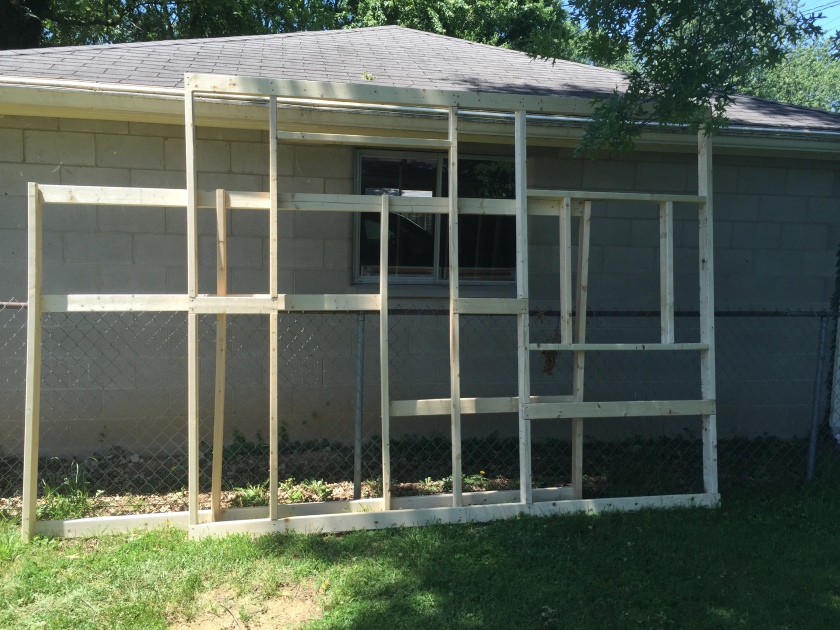
Now to move them into place. I attached an 8′ stud to help steady the wall. It also made it so much easier to move since I was doing this by myself.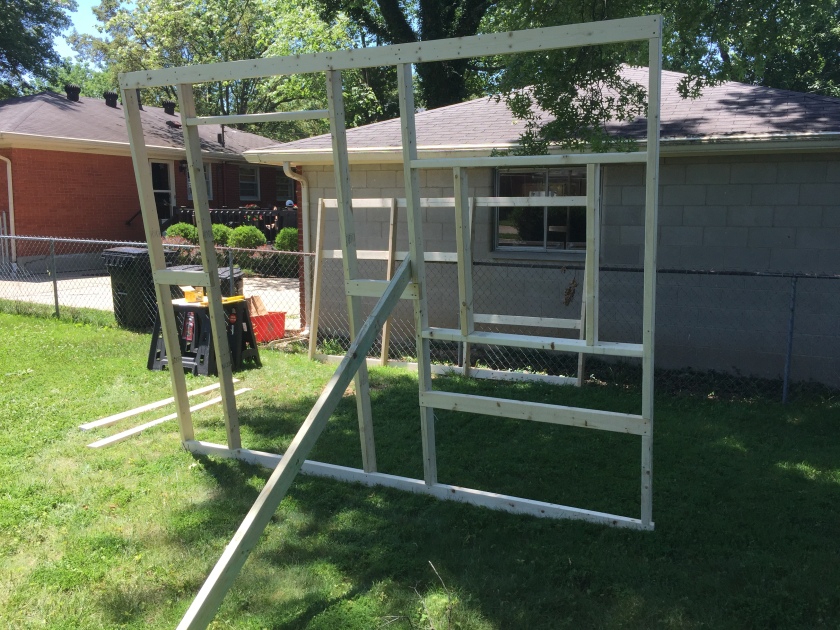
Once I got the front and back walls into place, it was time to join them with the 6′ cuts to begin framing in the side walls. Jack and Max were confused by the braces on the walls until I explained that they would go away once I knew everything was sturdy.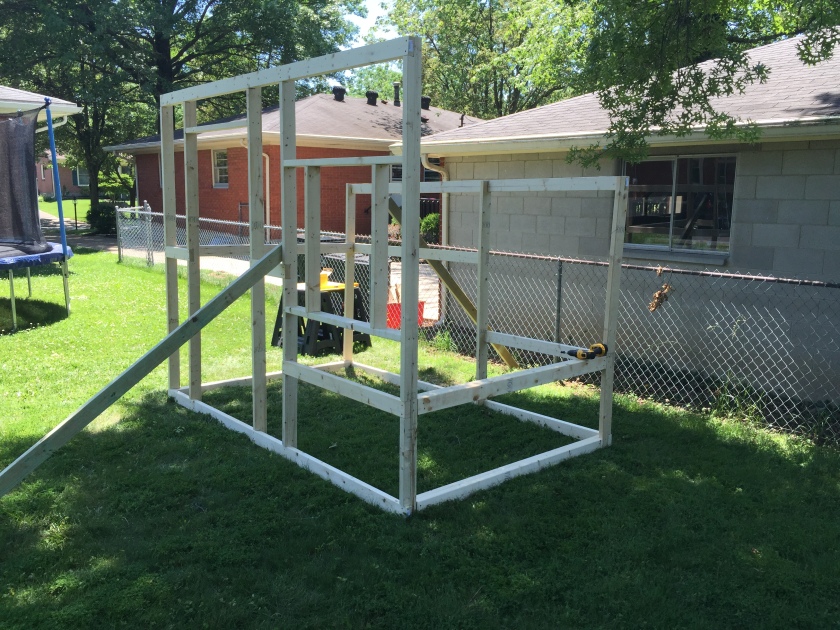
Once I had the frame standing, Jack went inside to get the chicks. He brought them outside and placed them in their coop frame. You would have thought that they had gone to heaven. They are very active inside and once they were in “their yard” that activeness was multiplied by 100. Running, jumping, trying to fly… They obviously had a great time.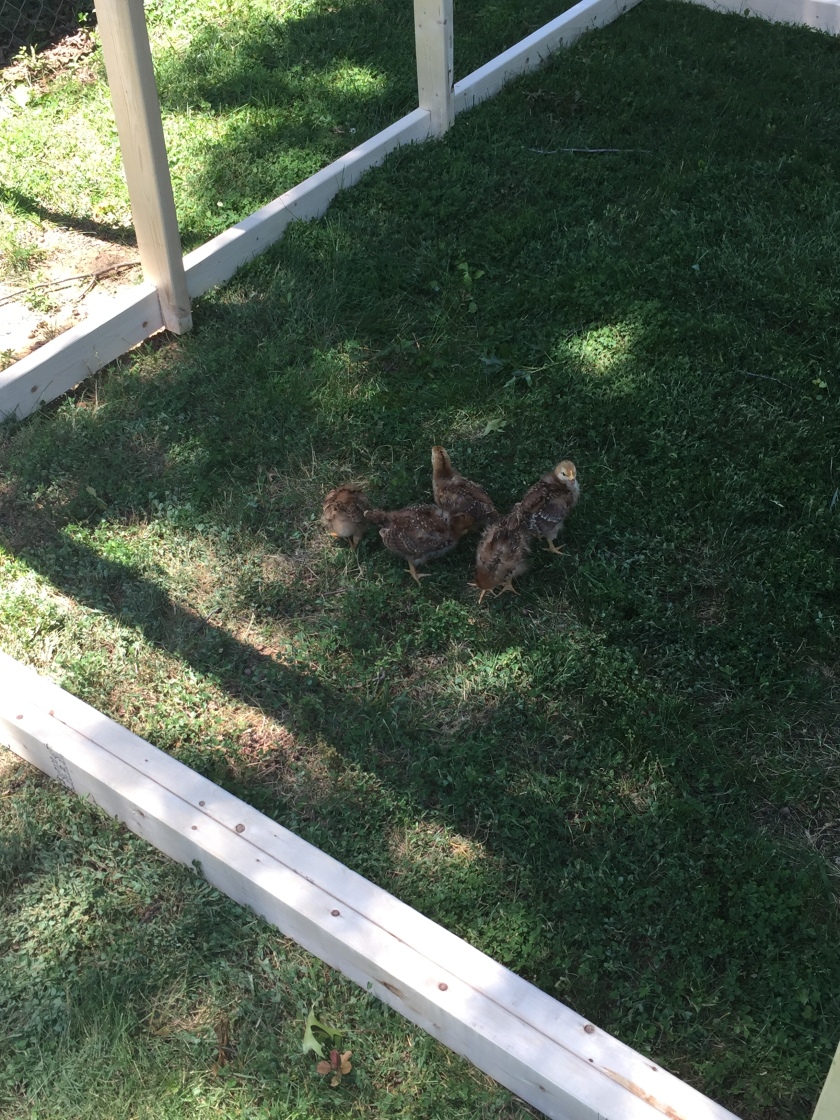
Jack with Shiraz (his chicken) and the rest of the flock.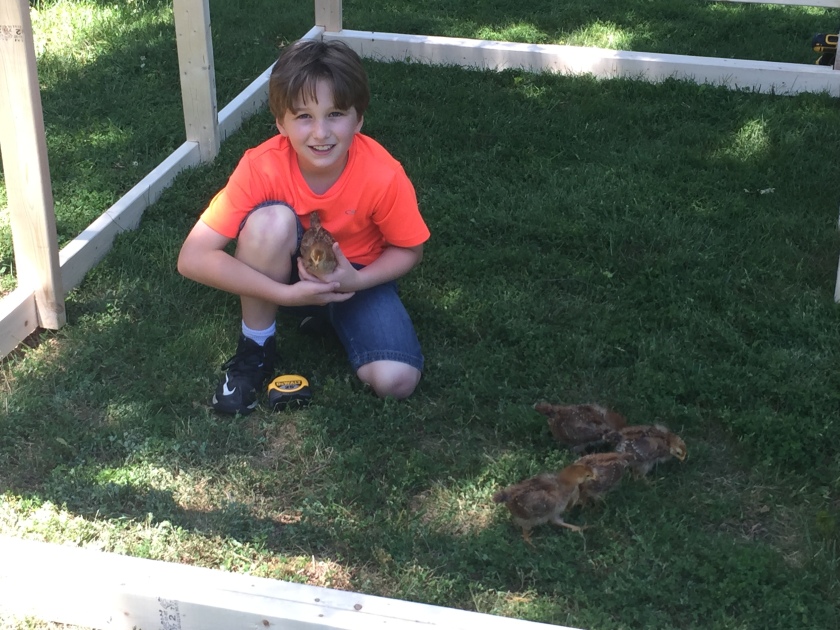
My last step on my first build day was to water seal and stain the wood. I really didn’t want to use pressure treated wood as you never really know what chemicals have been used on the wood. After doing a whole bunch of research, I learned that Thompson’s Water Seal is barn yard safe. Thank goodness for that. I picked out the Cedar Transparent water sealer/stain and went to town on the frame I had built that day.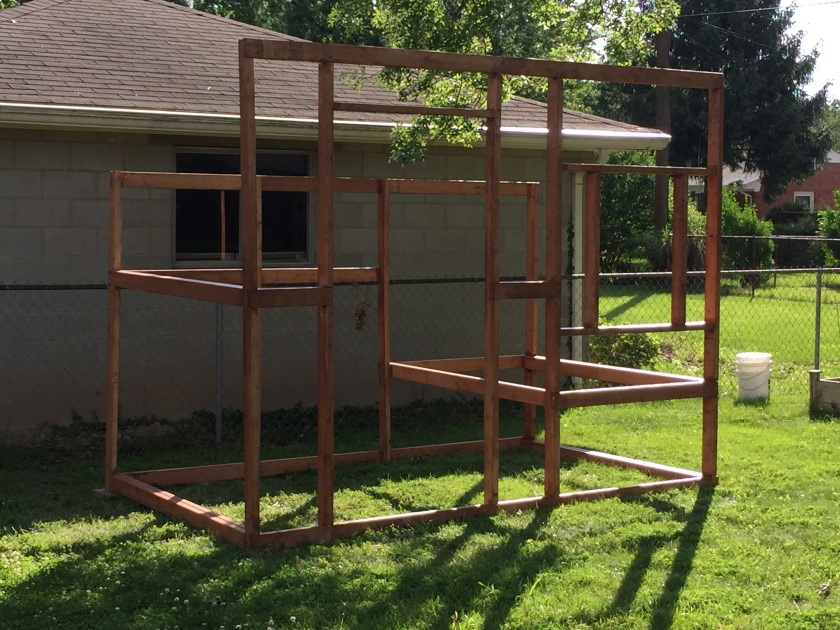
The next day brought a trip to Lowes. I decided to get my 4’x8′ pieces from there because I could have it delivered. After I placed the order, the store called me to setup the delivery date. Unfortunately for me, but good for Lowes business, the next available day was Thursday night, which I was busy with baseball and softball games, or the following Monday. I changed the order to a store pickup and called my sister. Thankfully she came to my rescue and we met at the store in the morning. We loaded up my supplies in her Traverse and headed back to my house. Since one of the things I bought was a ladder (so sad that I didn’t have one) I put the side roof beams on to fully stabilize the structure and allowing me to remove the support braces. Once we were framed out and square, I cut and installed the pine plywood hen house floor. 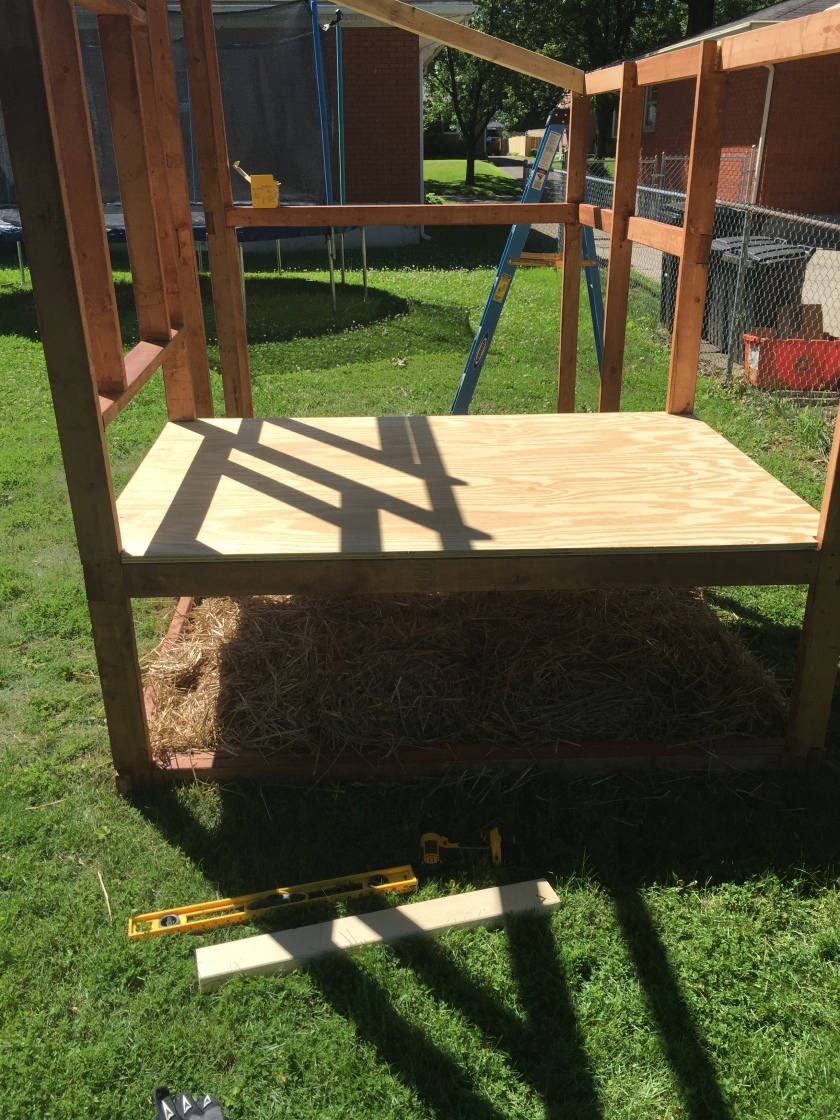
Once I had a platform to stand on if needed and a ladder, it was time to finish the roof. This part really made me nervous. Geometry was the only math I was ever good at in school, but once I started working with angles to create a level surface, the doubts came out full force. MEASURE TWICE…CUT ONCE. In this picture, you’ll see Jack and Maxwell on one of their many outings to check on my progress and “WWE Wrestle” on the trampoline.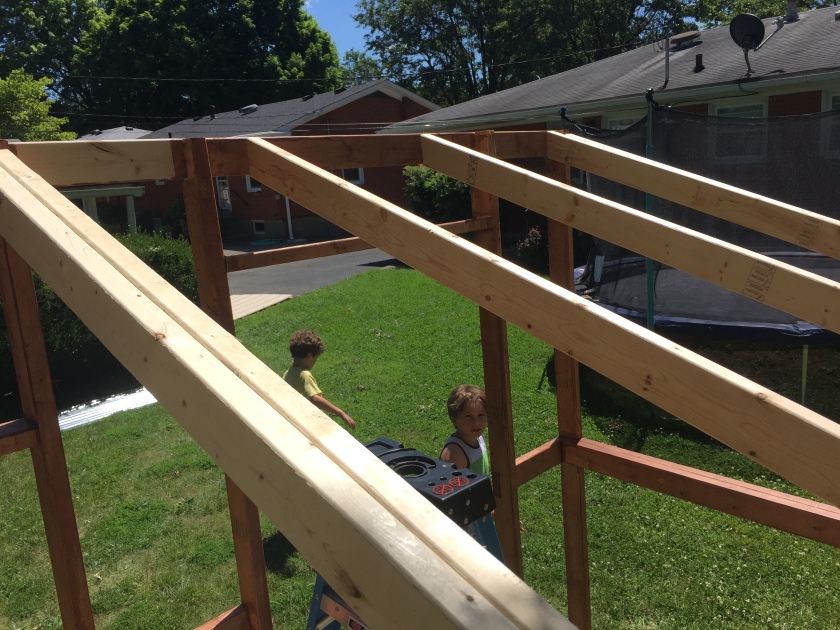
I went with a basic ribbed steal roof for the coop. It was actually easier to install than I was expecting. The plans called for the roof to be cut to certain lengths but as I had the first one set in place to be attached, I decided I really liked the overhang that I had without cutting the metal. Audible number 1. Jack and I are both jealous of the roof on the coop. We love rain and storms and would love to sleep under a steel roof during a rain storm. I’m expecting to find Jack outside in the coop the next time it rains… of course, I’ll probably be there with him.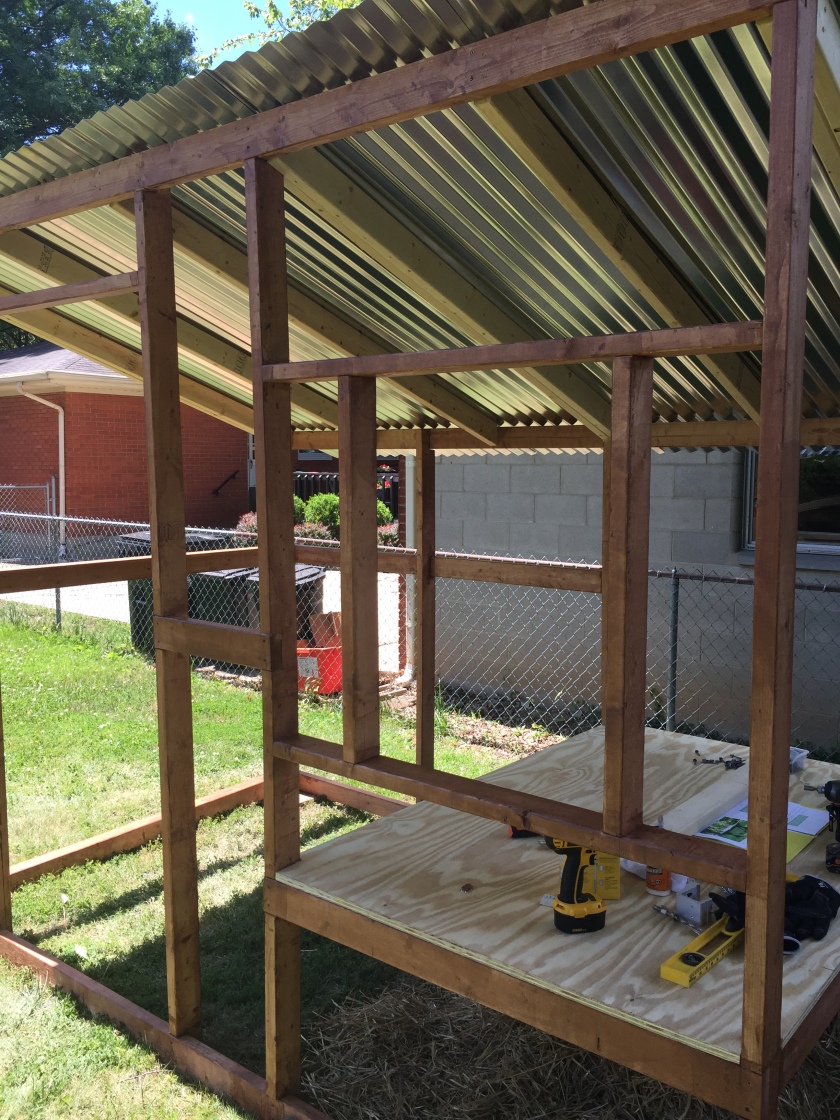
Now it was time to frame in the interior walls of the hen house. I only have a finishing nail gun so I pulled out the pocket hole jig and used pocket screws to frame in the interior walls.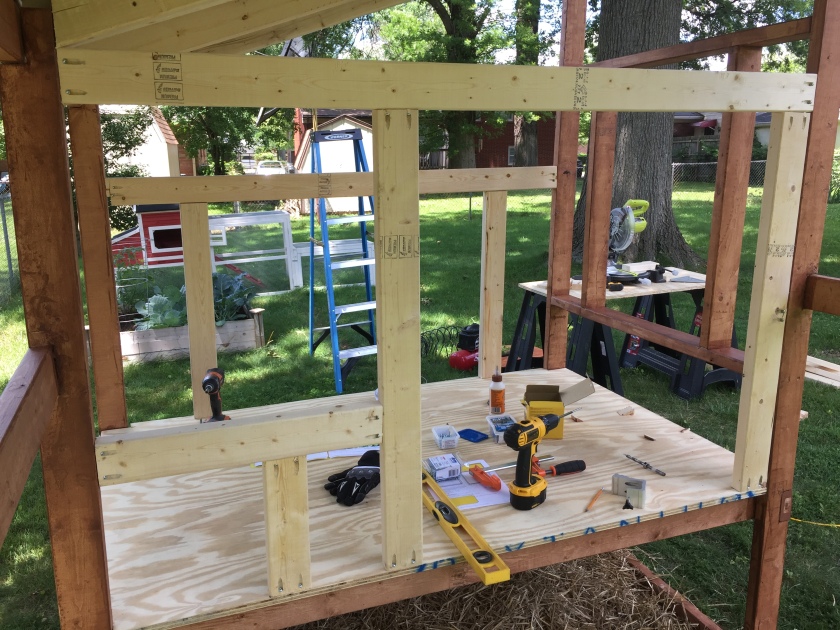
As far as the outside walls went, I decided on a cheaper version of wood paneling. These panels are OSB board covered with a synthetic coating. They are much lighter and easier to handle for 1 person, plus they’re textured and colored so there is no need to paint, stain or protect. At the same time, if I decide to paint the walls at some point, there is no prep work needed.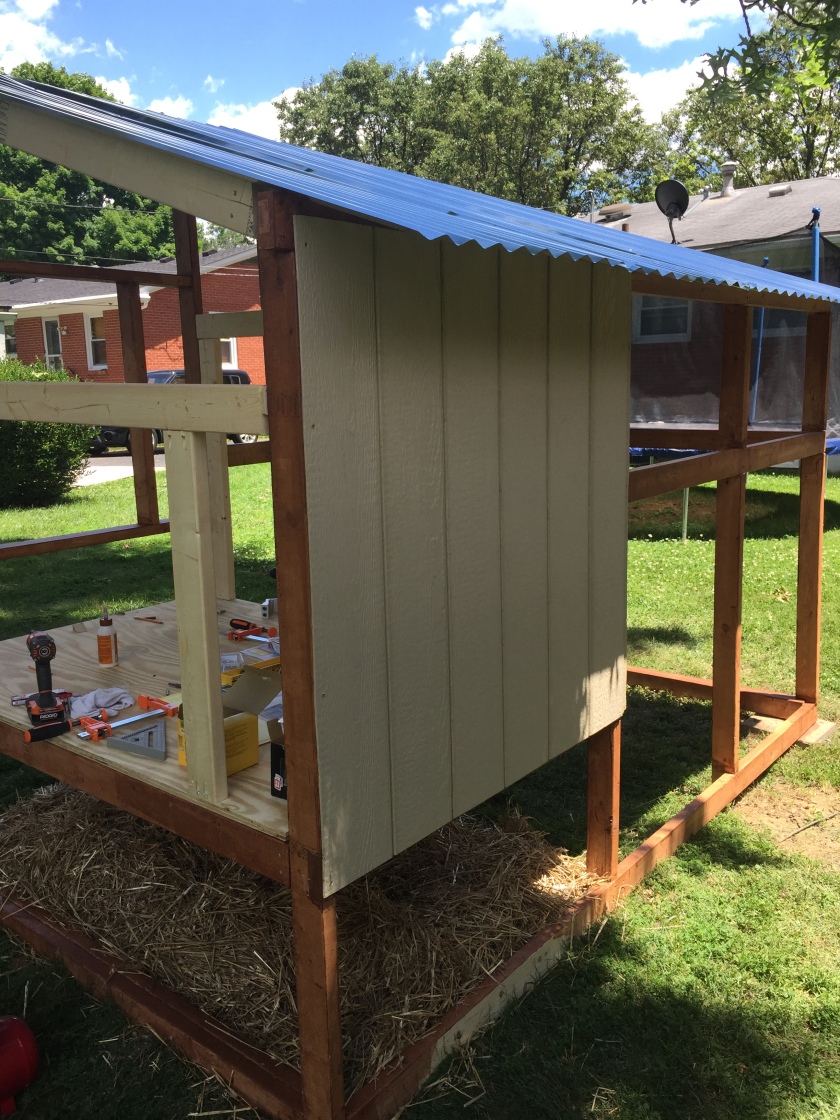
The next step was the horrible task of attaching the hardware cloth. The plans called for using only 4′ height bundles, but there were several sections that were only 2′ tall. No brainer… use 2′ tall hardware cloth. Still a pain.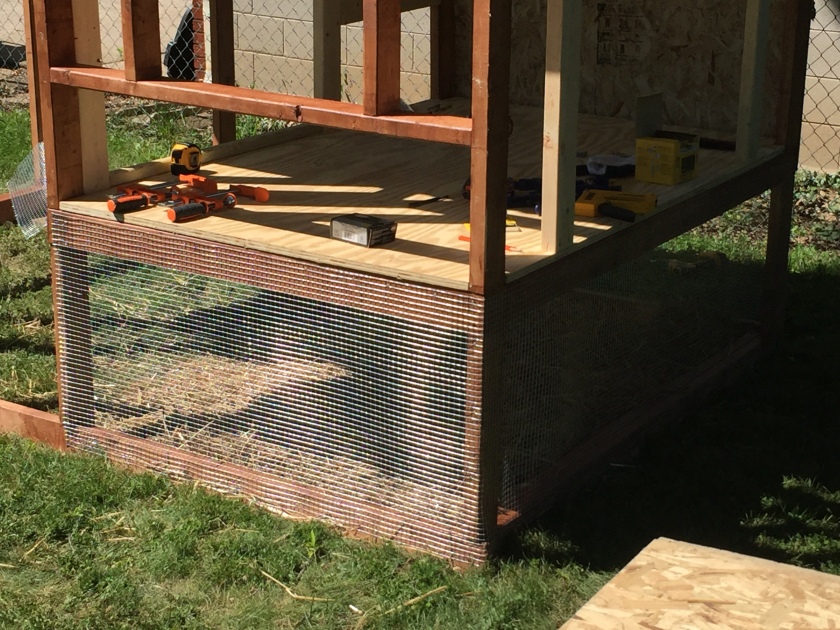
While attaching the hardware cloth, I removed the front wall panel that I had placed earlier. Since I had it down to attach the cloth, I cut out the window hole then put it back up. Cutting out a section from another piece of paneling, I finished out the front wall.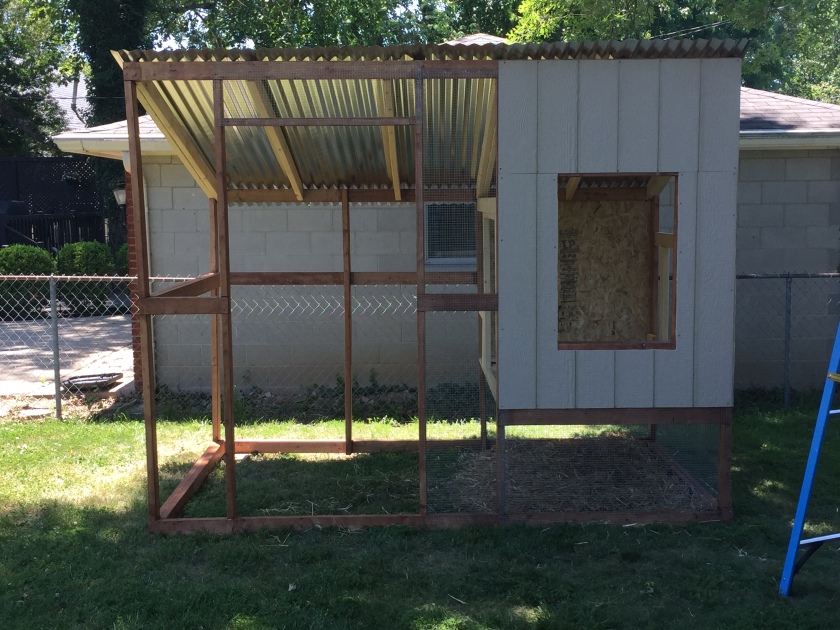
I had enough left with that piece to cut out the interior wall. I saved the large section to be used later when I make the access doors for the inside wall. 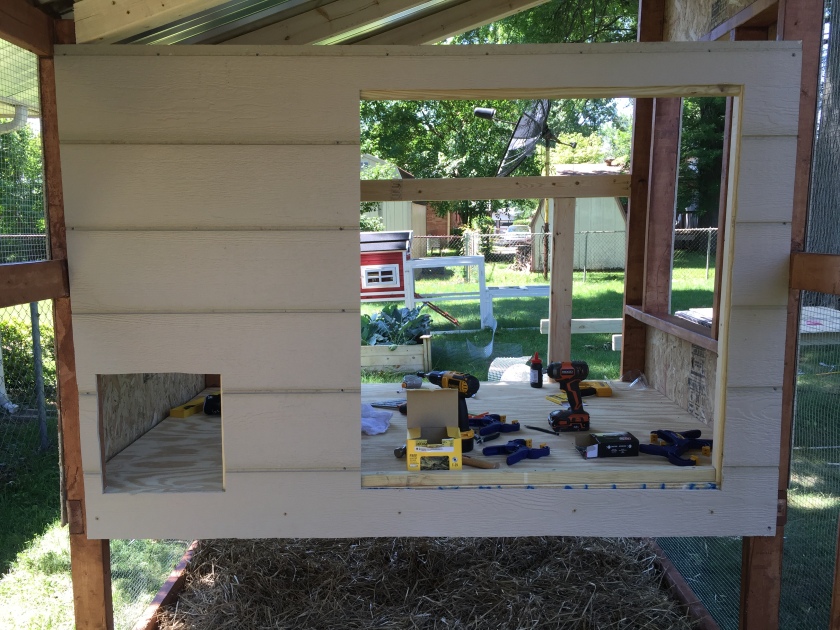
It was now time for the 4′ tall sections of hardware cloth. This was even more of a pain than the 2′ tall sections… but it is on and securely attached. I certainly didn’t skimp on staples to secure the cloth. I would be willing to say that there is easily 500 staples holding my hardware cloth on. 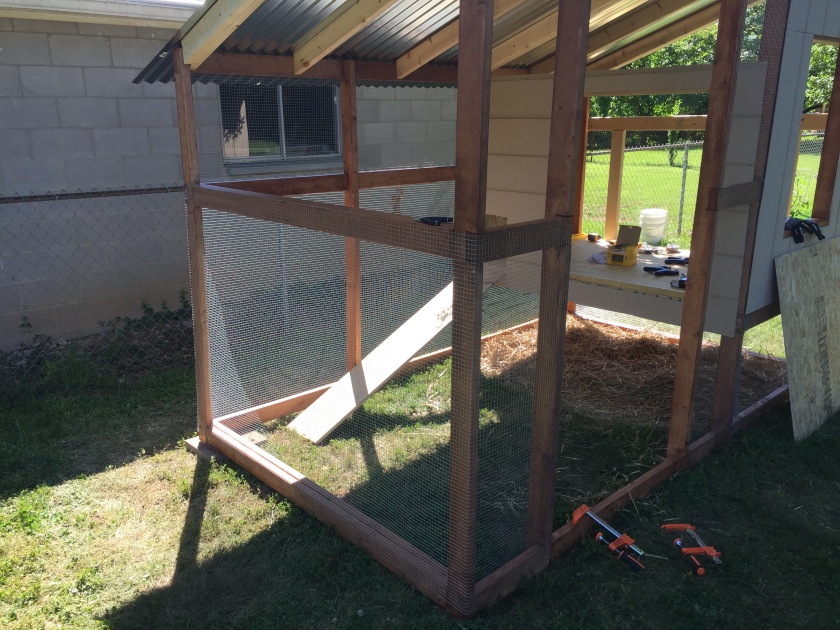
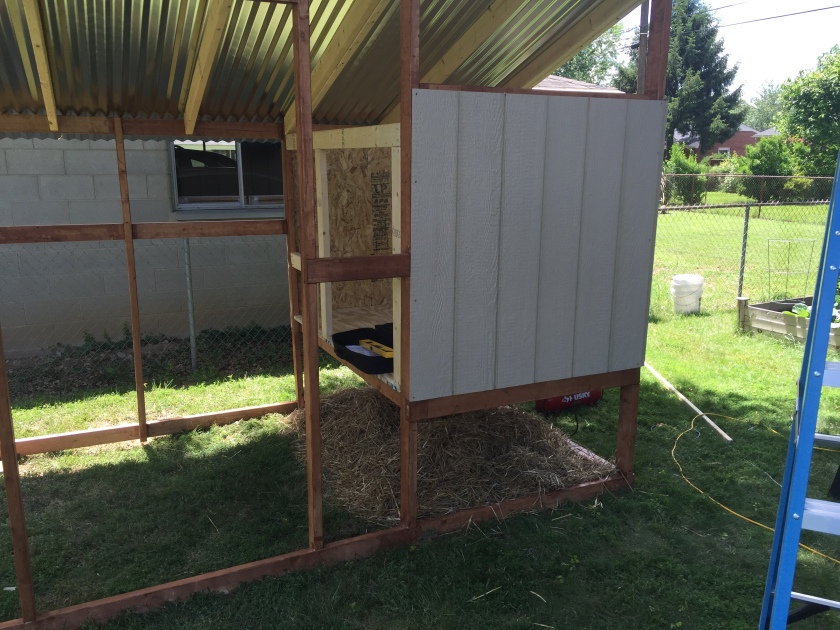
Audible #2 – I didn’t like the design for the nesting boxes. It had them as stacked and a storage area next to them. I ripped out the framing for the outside wall and decided to design on my own. Here you will see the floor framing for my nesting box design.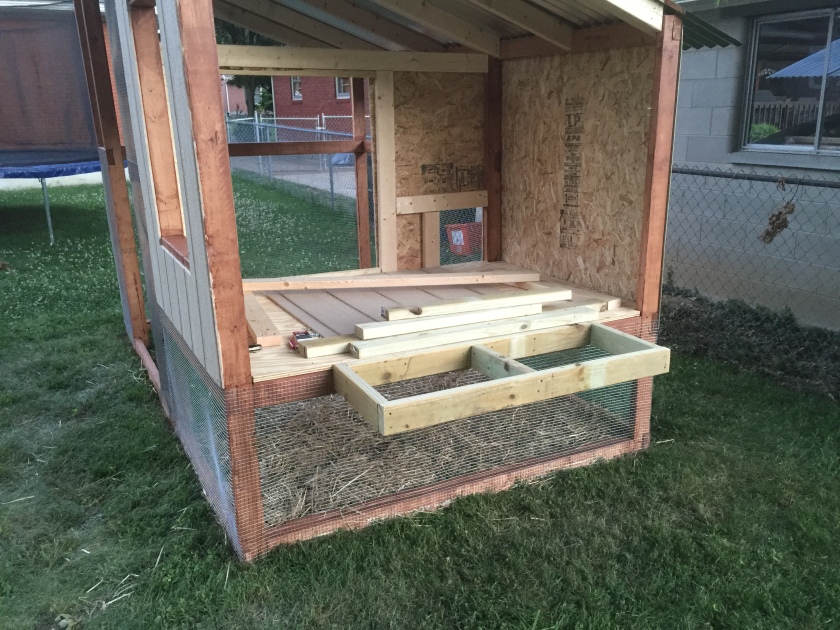
My finished design for the nesting boxes and the outside wall.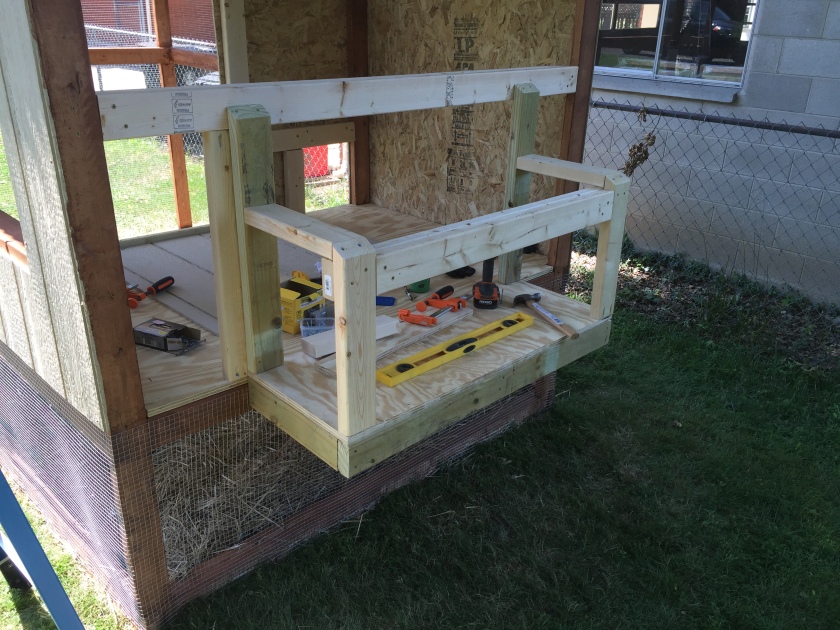
With the frame completely built, all that was left was to cut and attach the remaining wall pieces. Here’s the inside wall.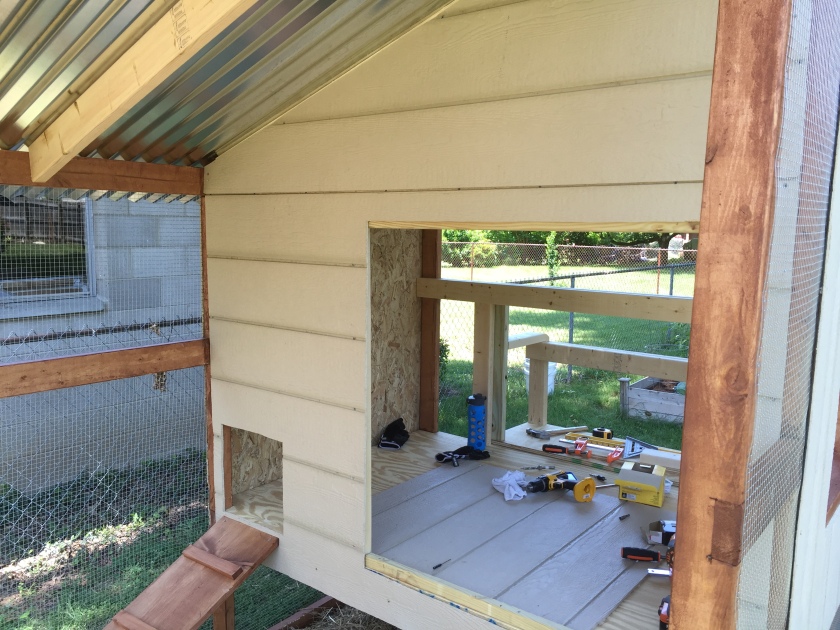
Covering the nesting box and lower outside wall.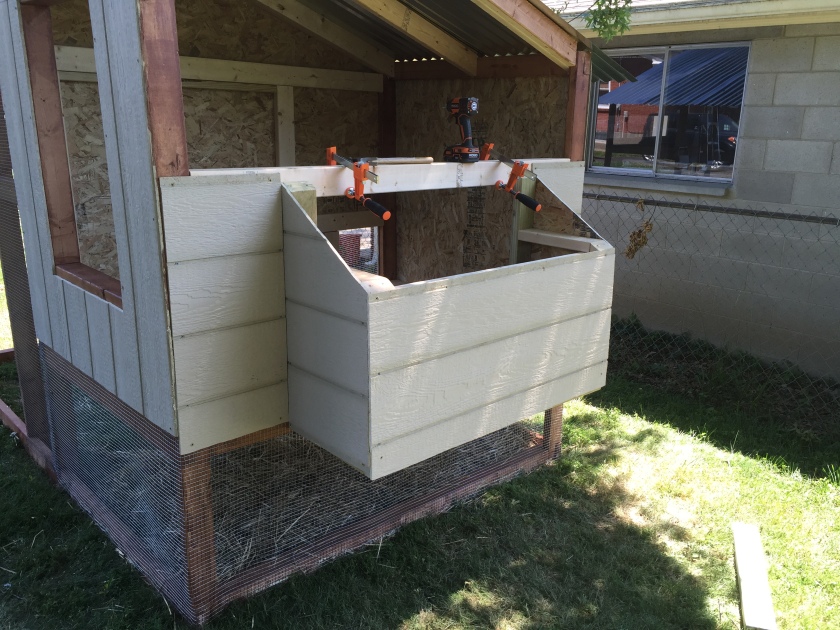
Finishing the outside wall. We are finally down to the little details… but that will have to wait till the next day.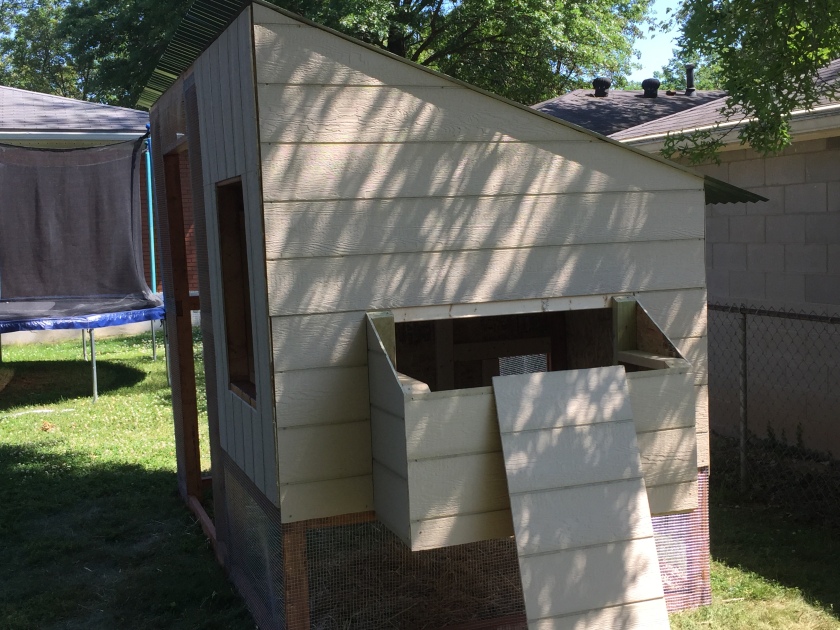
I decided to put in an actual single hung, single pane window. Of course I couldn’t find a stock window in the size of the hole I had, so I got the closest window possible and would later figure out the best way to cover the gap.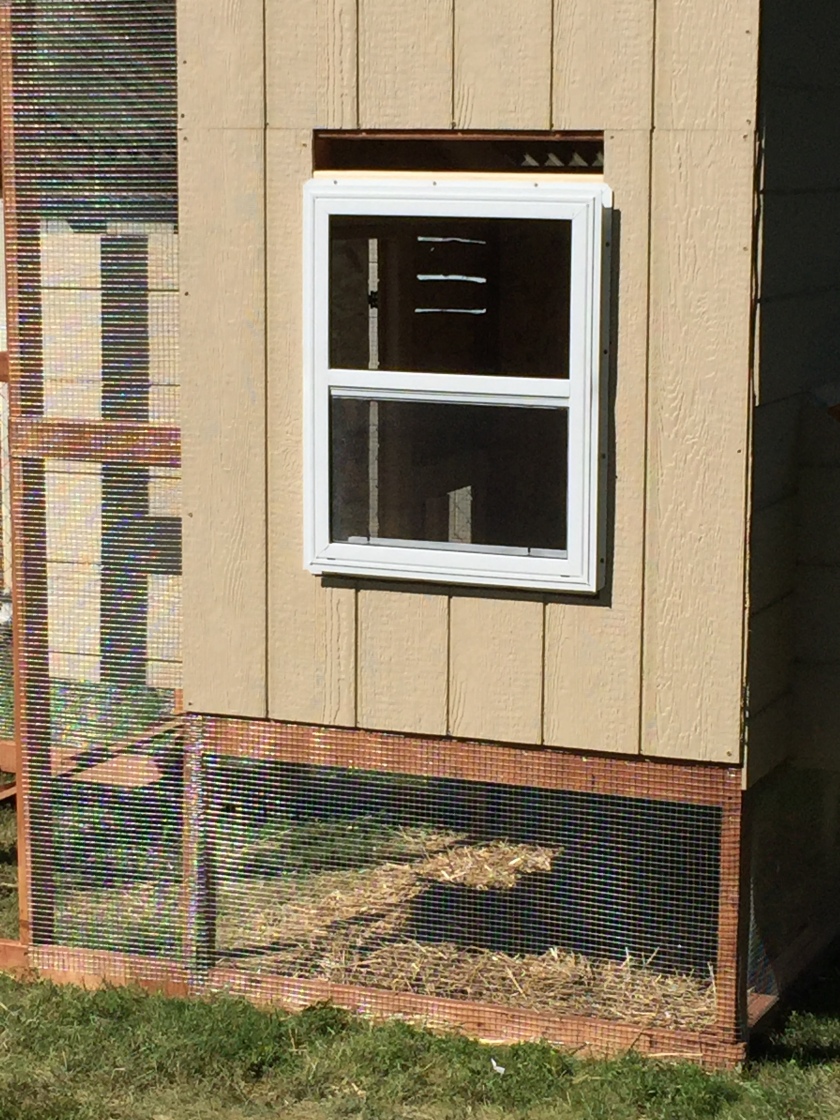
A roosting bar was added to the hen house to give our girls a place to sleep peacefully. Since chickens are flat footed, a 1×1 was the perfect choice.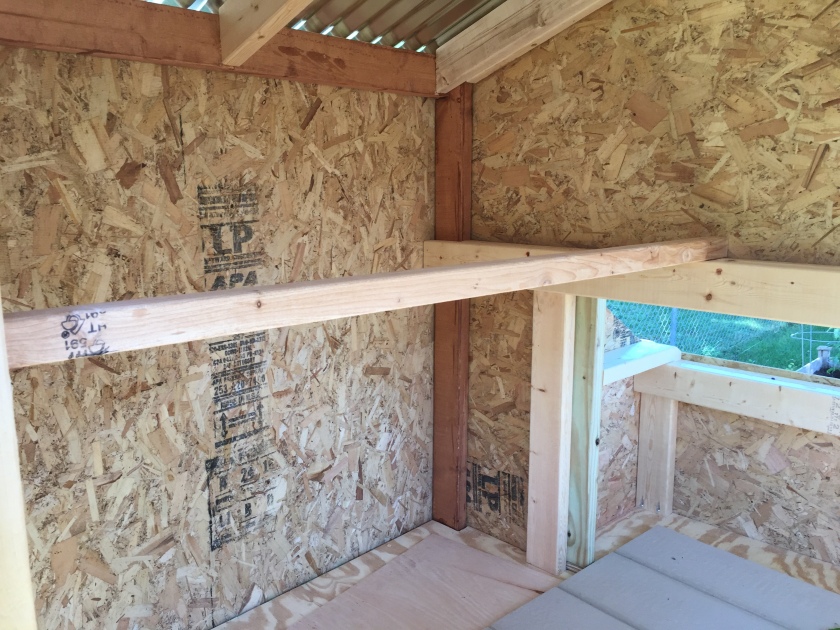
I probably could have made a door, but at this point anything that could be done for me, was going to be a benefit. For $29 you can pick up a plain wood screen door. The screen is easily removed so you can paint or stain the door to match your decor. Thompson’s Water Seal back in business. Now it looks like the rest of the wood. We don’t have many problems with natural predators in the suburbs of Louisville, KY but you can’t take too many precautions when it comes to your flock. A natural predator would have no issues with the mesh screen on the door so I reinforced it with it with hardware cloth just to be on the safe side. Now as much as I dislike working with hardware cloth… I really dislike hanging doors. Patience, Patience, Patience… and it’s hung.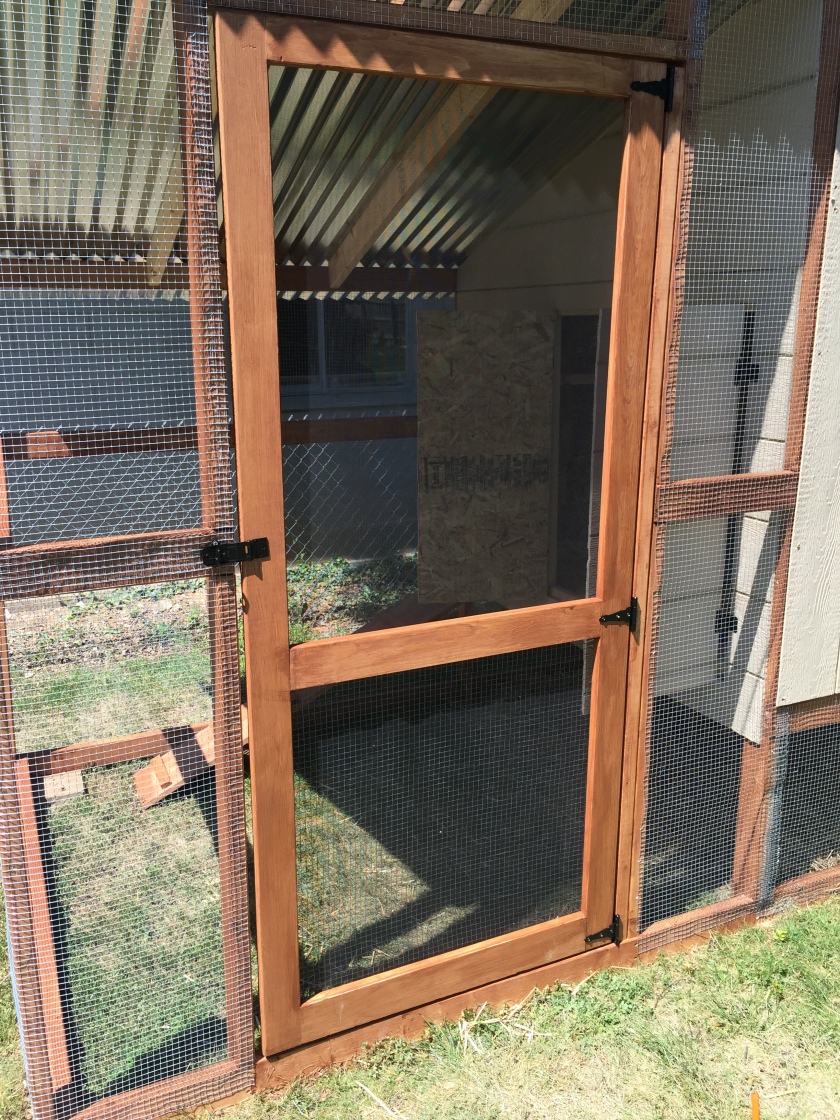
I pulled out the section I cut out of the interior wall and simply cut it in half to make doors. I added some simple snap hinges, handles and a couple bolt locks to finish off the barn doors. This certainly will make it easier to clean the hen house once our girls move in.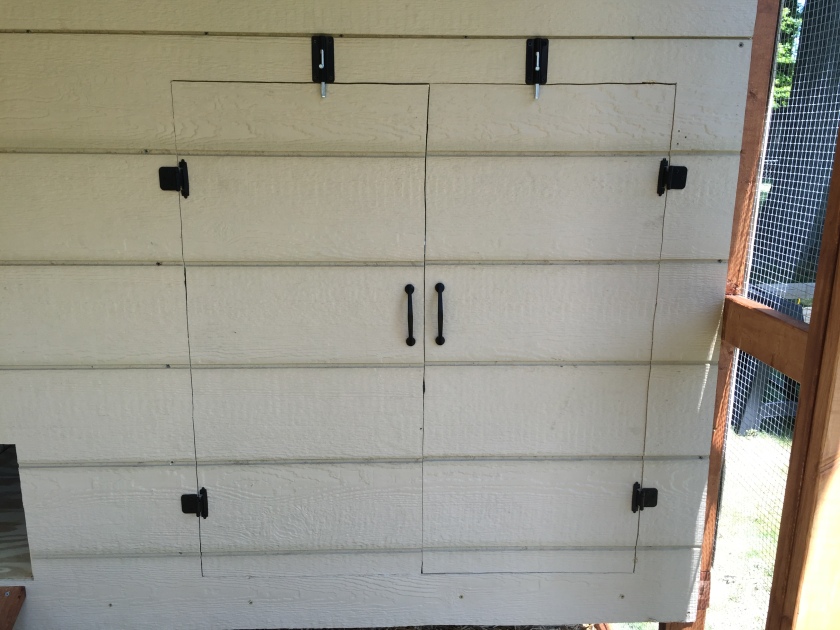
I started with a piano hinge for the lid to the nesting boxes but oh so quickly nixed that for the larger and easier to work with gate hinges. Inside this box is 2 roomy nesting boxes that will hopefully have yummy fresh eggs in them sooner than later.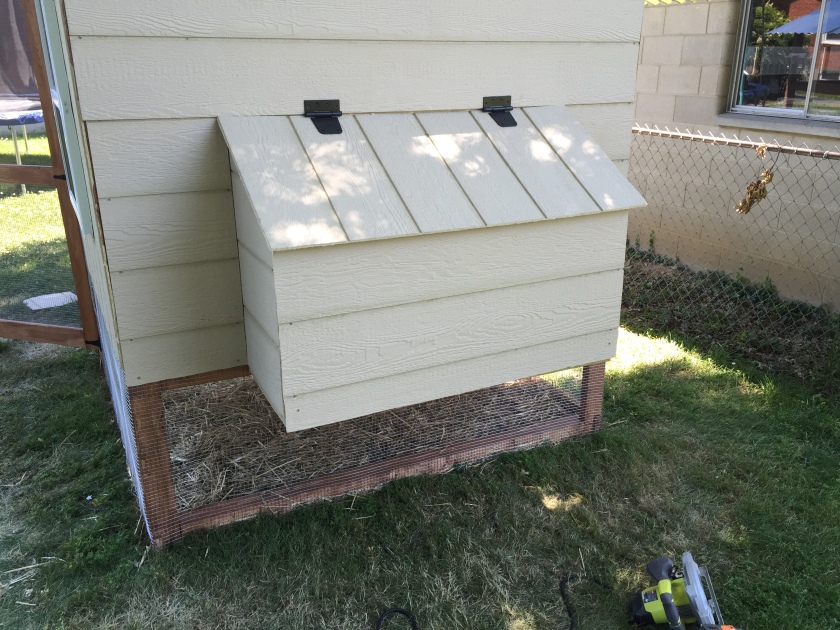
My plan to cover the unused window section was to make a sign using some leftover fence planking I had from a coffin I built last year for my church’s “Spooky House”. With some simple vinyl letters, we have a cute message to hang on our coop. Now I know that the letters will probably fall off at some point and we will have to replace with paint, but I can deal with that as the time comes.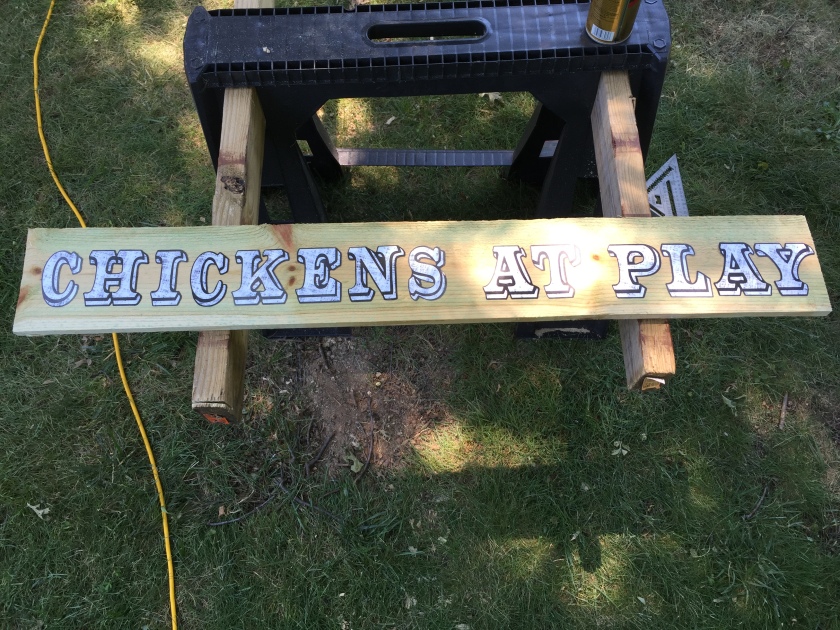
Here is Jack applying some anti-skid tape to the ladder into the hen house. He was very concerned when the chickens were sliding down the ladder when he had them outside. This wasn’t necessary, but it certainly made a kid feel better… Definitely worth $1.99.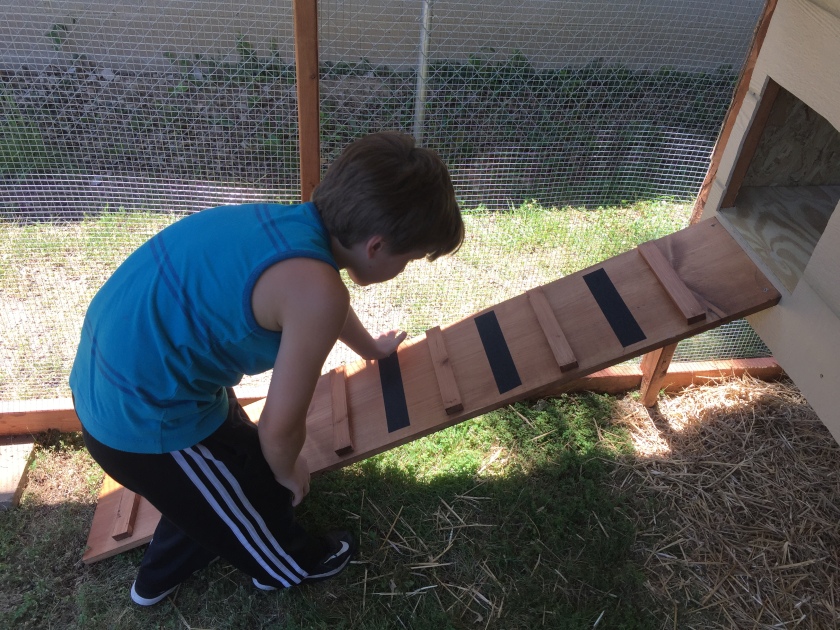
Since I had an actual window on the house, why not add a window planter box and plant some flowers. I found this simple window box at Home Depot and thought it would make a great addition to the coop. Plus it adds a little color since I’m not going to paint the exterior walls right now. Jack wanted to be sure I let everyone know that he nailed and hung the “Chickens at Play” sign.
After a long week of work, I finally have a finished coop. In a couple of weeks, I will begin introducing our flock to the coop by putting them outside while I’m at work. I have PVC pipe to make a couple feeders and a NSF bucket and 3 rod nipples to make a hung water bucket for the girls. I’ll be putting those things in over the next couple weeks as we prepare to transition our hens to the outside world. 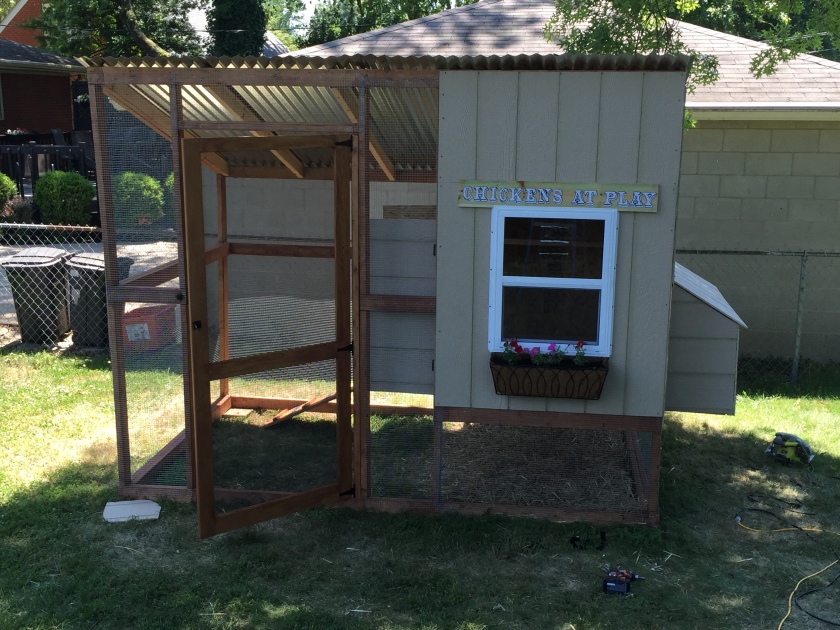
There are many ready to assemble kits available out there… and I even have 1 that I now need to sell… but if you are even considering having a flock, take into consideration building your own coop. Plans are abundant out on the internet. It’s just a matter of finding what works for your flock and your budget. A coop this size would be close to $2000 as a kit but I was able to build it for around $750.
Hope my girls love it as much as I do. Thanks for reading.

